Project Planning
What Property Photos Should You Send for an Estimate?
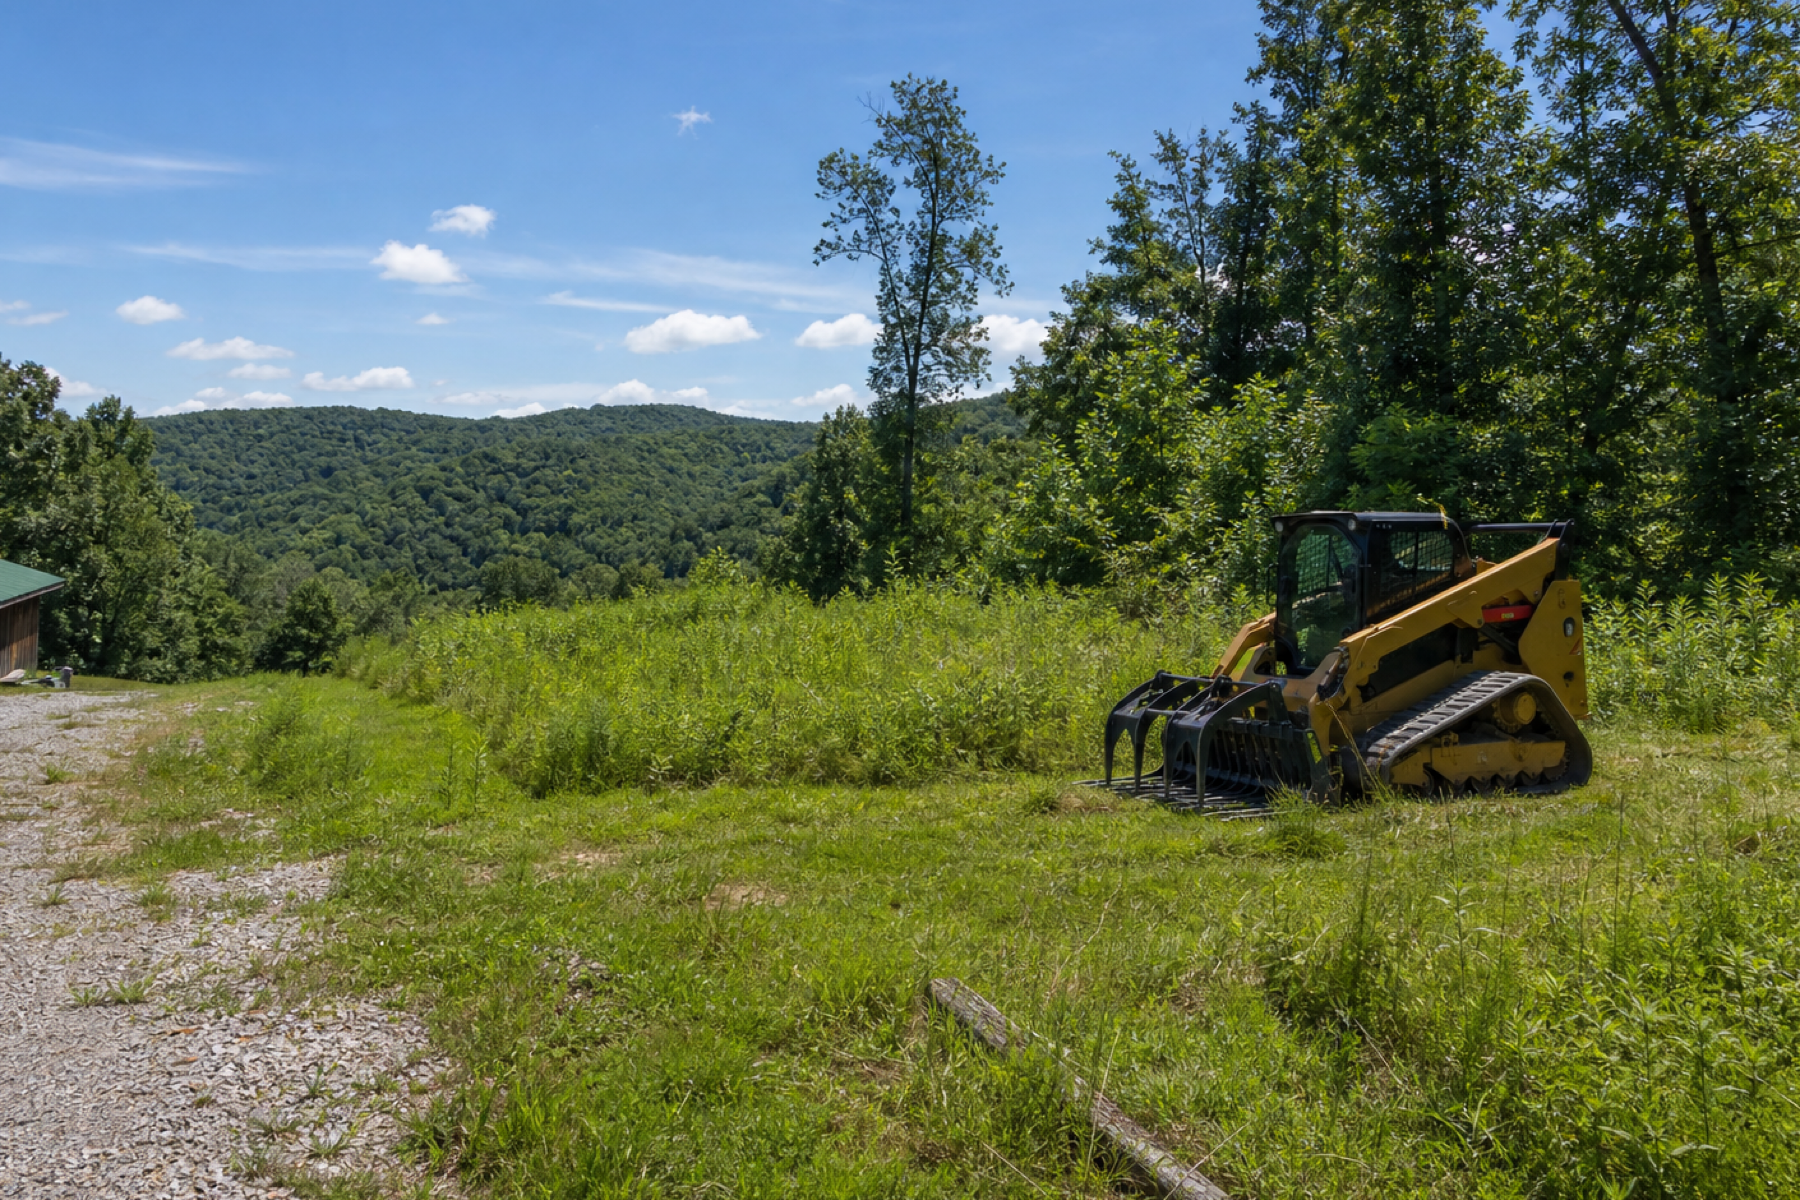
Photos are the single most useful thing you can send with a land-clearing request. A good set lets a contractor size up the vegetation, terrain, and access — and give you a grounded estimate — before ever driving out. A poor set (or none) means guesswork, padding, or a wasted site visit.
This guide covers exactly what to capture and how, so your request gets the most accurate estimate possible.
Why Photos Beat Descriptions
Words like 'overgrown' or 'a few trees' mean different things to different people. A photo doesn't — it shows the actual density of the brush, the real size of the trees, how steep the ground is, and how a machine would get in. Contractors estimate from what they can see, so the closer your photos get them to standing on the property, the closer the estimate gets to reality.
The Shots to Capture
- Wide establishing shots — several from different corners showing the overall work area and how much there is.
- Vegetation close-ups — a few showing the density of brush and the diameter of typical trees (a hand or tool in frame gives scale).
- The biggest trees — the large-diameter trees specifically, since they change the equipment needed.
- Terrain — anything showing slope, low or wet areas, rock outcrops, or elevation change.
- The entrance and access route — the gate, the width, overhead clearance, and the path from the road to the work area.
- Boundaries and keep features — where the work area ends and anything (trees, structures) that must be protected.
How to Take Them
Shoot in good daylight, hold the phone horizontally for wide shots, and capture more than you think you need — extra context never hurts. Walk the perimeter and shoot back toward the center so the scale reads. If the brush is too thick to walk into, that itself is useful information, so photograph the wall of it from the edge.
Include one or two shots that show scale clearly — a vehicle, a person, or a tool in the frame helps a contractor judge tree size and area far better than a close-up with nothing for reference.
Pair Photos With a Few Facts
Photos do most of the work, but a handful of facts complete the picture: the property location or nearest road, an acreage estimate, what you want the land used for, and any access notes the photos don't show. Together, that package is what turns a request into an accurate estimate and a smooth project. Our guide on planning a land-clearing project covers the rest of the prep.
Helpful Guides
This guide is general information for property owners and does not replace an on-site evaluation. Upper Cumberland Land Clearing is an independent referral service; project scope, methods, equipment, pricing and scheduling are determined by the contractor who reviews your property.
Project Planning Questions
Wide establishing shots of the whole work area, close-ups showing brush density and typical tree diameter, shots of the largest trees, anything showing terrain (slope, wet spots, rock), and photos of the entrance and access route. Shots that include something for scale are especially helpful.
More than you think — a dozen or more is fine. Extra context helps rather than hurts. Cover the property from several angles, the vegetation up close, the big trees, the terrain, and the access, so nothing important is left to guesswork.
Yes, significantly. Contractors estimate from what they can see. Good photos let them judge density, tree size, terrain, and access from afar, producing a realistic estimate and often avoiding an unnecessary site visit.
Photograph the edge of it — a wall of impenetrable brush is itself useful information about density and effort. Note that you couldn't walk in, and a contractor will factor that into the evaluation.
Ready to Turn Overgrown Land Into Usable Property?
Share your contact details and you’ll be contacted to discuss where the property is, how much land is involved and what needs to be cleared.